

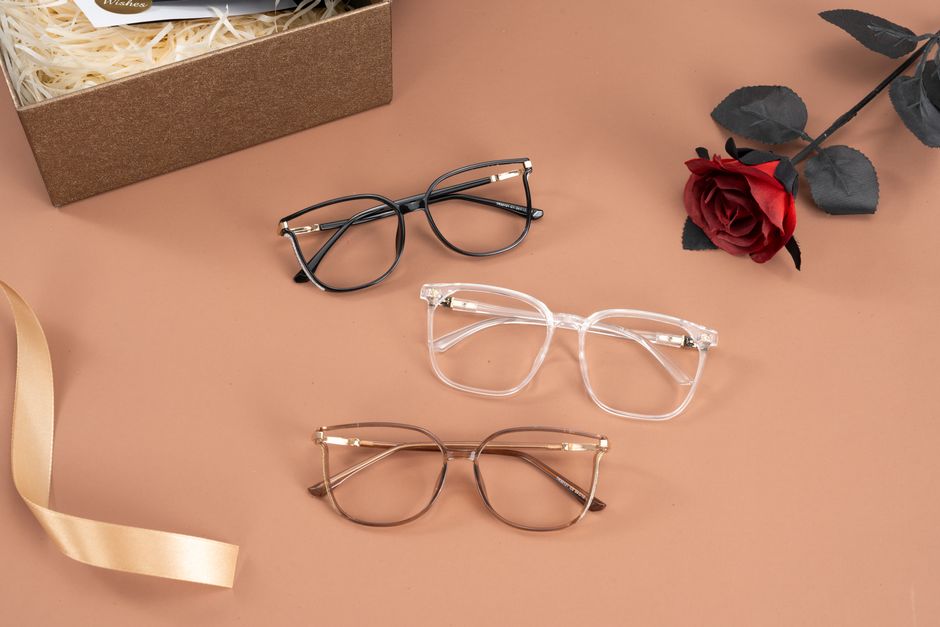
Glasses Style Virtual Try On: Virtual Glasses Try-On: 4 Things I Wish I Knew Before Buying Frames Online
I clicked “Try On” on a pair of tortoiseshell Wayfarers. On screen, they looked perfect. Balanced. Almost philosophical. When they arrived, they sat on my face like two hubcaps trying to hug a grape. The bridge was wrong. The temples dug in. The color looked nothing like the pixel version.
That was three pairs and $280 ago. I’ve since tested six virtual try-on platforms, ordered frames from four different retailers, and measured my face with calipers like a mad scientist. Here’s what I learned about virtual glasses try-on — the real stuff nobody tells you.
How Virtual Try-On Actually Works (And Where It Lies to You)
Every virtual try-on tool uses facial mapping. The camera detects your eyes, nose bridge, and face outline. Then it overlays a 3D model of the glasses. Sounds simple. It’s not.
Here’s the problem: most apps use average facial proportions. If your nose bridge is higher or lower than the statistical mean, the glasses render in the wrong position. I have a high bridge. Every single app showed frames sitting lower than they do in real life. The result? I ordered frames that looked centered on screen but sat too high on my actual face.
The Camera Distortion Factor
Your phone’s front camera has a wide-angle lens. It distorts your face. Your forehead looks smaller. Your nose looks bigger. The virtual glasses scale to match this distorted image. When you put the real glasses on, your actual proportions change how the frames look.
I tested this. I took try-on photos with an iPhone 14 Pro (12mm equivalent focal length) and then with a Sony A6400 at 50mm. The glasses looked completely different. Wider on the phone. More proportional on the real camera.
Lighting Changes Everything
Virtual try-on renders frames in ideal studio lighting. Real life has overhead fluorescents, sunset warmth, and cloudy grey. The Ray-Ban RB2140 in “Tortoise” looked warm and rich on screen. In my office lighting, it looked flat brown. In sunlight, it looked orange. The virtual tool showed one version. Reality showed three.
Verdict: Virtual try-on is useful for shape and size, but useless for color accuracy. Never judge frame color from a virtual render. Find real-world photos on Reddit or Instagram instead.
6 Virtual Try-On Apps Compared — What Each Gets Wrong

I spent a weekend testing every major try-on tool. Here’s the table I wish I had before starting.
| Platform | Best For | Biggest Flaw | Frame Accuracy | Color Accuracy |
|---|---|---|---|---|
| Warby Parker | First-time online buyers | Only shows their own frames | 7/10 | 6/10 |
| Zenni Optical | Budget shoppers ($30-$80) | 3D models look blocky, low-res | 5/10 | 5/10 |
| GlassesUSA | Large brand selection | Overlays can shift mid-movement | 6/10 | 6/10 |
| Ray-Ban (official site) | Iconic styles | Limited to Ray-Ban only | 8/10 | 7/10 |
| LensCrafters | In-store pickup option | App crashes frequently | 7/10 | 6/10 |
| EyeBuyDirect | Trendy shapes | Face tracking lags on older phones | 6/10 | 5/10 |
My pick: Warby Parker has the smoothest experience and best frame rendering. But their selection is limited. If you want a specific brand like Ray-Ban or Oakley, use their official site. Just know the color will be off.
One thing every app does badly: showing how frames look from the side. You’ll see a front view and maybe a 45-degree angle. Nobody shows you the profile. That’s where bridge fit and temple length matter most. I’ve ordered frames that looked great from the front but stuck out an inch behind my ears.
Three Measurements You Must Take Before Clicking Try-On
Virtual try-on ignores your actual measurements. It guesses. If you want accurate results, you need three numbers first.
Your Face Width (Temple to Temple)
Measure from the outer edge of one temple to the outer edge of the other. Use a soft measuring tape. Write it down. Most frames list their total width in millimeters. Your frame width should be within 5mm of your face width. Too narrow and they’ll squeeze. Too wide and they’ll slide.
I have a 138mm face width. The virtual try-on showed a 145mm frame as “perfect.” In reality, they were too wide. They slipped down my nose every time I looked down.
Bridge Height (Not Width)
Everyone talks about bridge width. That’s the distance between lenses. Bridge height is where the frames sit on your nose vertically. Measure from the bottom of your eyebrows to the top of your nose. If that distance is short, you need frames with a high bridge. If it’s long, low bridge frames work better.
Virtual try-on doesn’t measure this. It assumes an average bridge height of 25mm. My bridge height is 30mm. That’s why every virtual try-on showed frames sitting too low.
Temple Length
Look at your current glasses. The temple length is printed on the inside arm — usually 135mm, 140mm, or 145mm. Virtual try-on doesn’t show temple length at all. You have to check the product specs manually. If the temple is too short, the frames won’t reach your ears. Too long, and they’ll poke out the back.
Rule of thumb: If your current frames fit well, match the temple length exactly. If they’re too tight, go up 5mm. If they slide down, go down 5mm.
Why Virtual Try-On Fails for Progressive and High-Prescription Lenses
Virtual try-on only shows the frame. It doesn’t show how the lens thickness will look. This matters more than people realize.
I have a -4.50 prescription. In thin plastic frames, the lens edge is visible. In thick acetate frames, it’s hidden. The virtual try-on showed both frames looking identical. In reality, the thin metal frames made my lenses look like Coke bottles from the side. The thick acetate frames hid the edge completely.
Lens Thickness by Frame Material
Here’s what I learned after three returns:
- Thin metal frames: Best for low prescriptions (-1.00 to -2.00). High prescriptions show lens edge clearly.
- Thick acetate frames: Best for high prescriptions (-3.00 and above). The thick rim hides the lens edge.
- Wire frames: Only for very low prescriptions or single vision reading glasses. Anything above -1.50 looks bad.
- Nylon semi-rimless: Avoid if you have astigmatism. The lens edge will be visible and uneven.
Virtual try-on doesn’t show any of this. It renders every lens as perfectly thin. You have to know your prescription and choose frame material accordingly.
Progressive Lenses and Virtual Try-On
If you need progressive lenses, virtual try-on is almost useless. The lenses have a visible line or segment that changes how the frame looks. The virtual tool shows a single-vision lens. You won’t see how the reading segment sits in the frame. This can cause issues — if the frame is too small, the reading segment gets cut off. If the frame is too large, the distance portion is wasted.
My advice: For progressive lenses, use virtual try-on only for frame shape and size. Then go to a physical store to confirm the lens placement. Or use a retailer that offers virtual consultations with a real optician.
How to Use Virtual Try-On as a Screening Tool, Not a Final Decision
Here’s the workflow I use now. It saves time and money.
Step one: Use virtual try-on to narrow down shapes. Try 20-30 frames on screen. Delete the ones that look obviously wrong. You’ll usually eliminate 70% this way.
Step two: Take the remaining 5-7 frames and find real-world photos. Search Reddit, Instagram, or Amazon reviews for “[frame name] on real person.” Compare how the frames look in real lighting vs. the virtual render.
Step three: Cross-check measurements. Look up the frame width, bridge width, and temple length on the product page. Compare to your measurements. If any measurement is more than 5mm off, remove the frame from your list.
Step four: Order one frame at a time. I know the urge to buy three pairs for free shipping. Don’t. Order one. Try it. Return it if needed. Then order the next. This costs more in shipping but saves you from owning three pairs that don’t fit.
Step five: Use the free home try-on programs. Warby Parker sends five frames for free. You keep them for five days. Try them in real lighting, in front of a mirror, while moving your head. This is infinitely more accurate than any virtual app.
Final verdict: Virtual try-on is a great filter. It’s a terrible final decision-maker. Use it to eliminate bad options, not to choose the perfect one.
When Virtual Try-On Is Good Enough (And When It’s Not)
Let me be direct about where this technology works and where it doesn’t.
Virtual try-on is good enough for:
- Getting a general sense of frame size (small, medium, large)
- Comparing two similar shapes side by side
- Seeing how different colors look on your skin tone (but not exact shade)
- Narrowing down from 100 options to 10
- Entertainment — it’s fun to try on frames you’d never buy
Virtual try-on is NOT good enough for:
- Deciding on exact frame fit (bridge, temple, width)
- Choosing frame color — real lighting changes everything
- High-prescription lenses — lens thickness isn’t shown
- Progressive or bifocal lenses — segment placement is invisible
- Final purchase decisions — you need to see them in real life
I’ve bought six pairs of glasses online. Four using virtual try-on as the main decision tool. Two using the workflow I described above. The two from the workflow fit. The four from virtual try-on alone? Three went back. One I kept because I was tired of returning things.
That $280 mistake taught me something: virtual try-on is a tool, not a solution. It saves time in the early stages. It replaces nothing in the final decision. Use it to narrow. Don’t use it to choose.
Those Wayfarers I wanted? I eventually found them in a LensCrafters store. Tried them on. They looked nothing like the screen. I bought a completely different pair. Sometimes the old way is still the best way.