How to Tie a Bow Tie Quickly Easy Step-by-Step Guide
What You Need Before You Start
Before you dive into tying your bow tie, make sure you’ve got these essentials ready:
- A self-tie bow tie – Not the pre-tied or clip-on kind. This is the real deal, giving you that sharp, custom look only a proper knot can achieve.
- A mirror – Highly recommended, especially if this is your first rodeo. Watching yourself as you tie makes all the difference.
- Dress shirt with collar up – Pop that collar so you can easily wrap and adjust the bow tie around your neck without any fuss.
Having these three things set up will make the whole process smoother—and your bow tie game stronger.
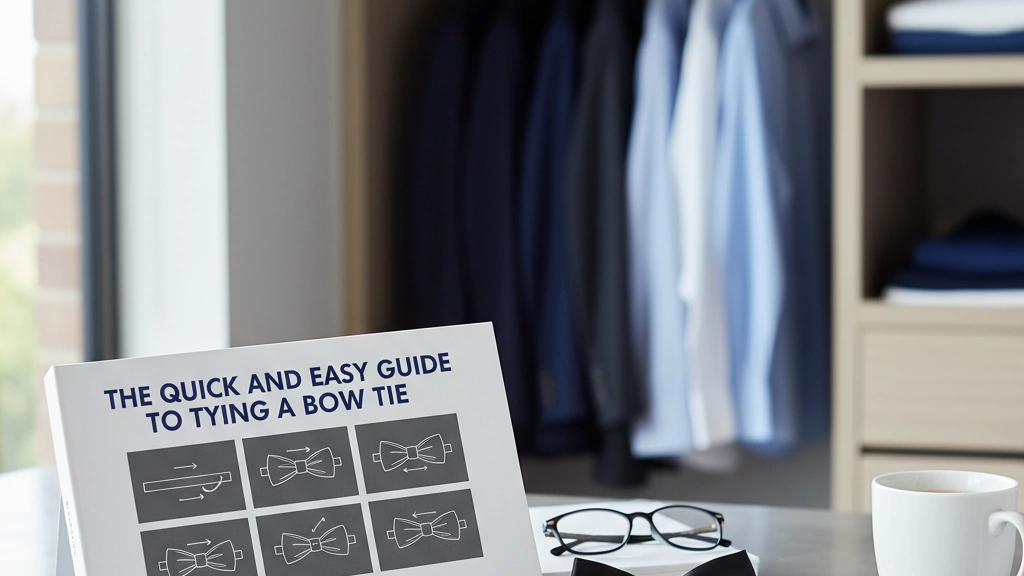
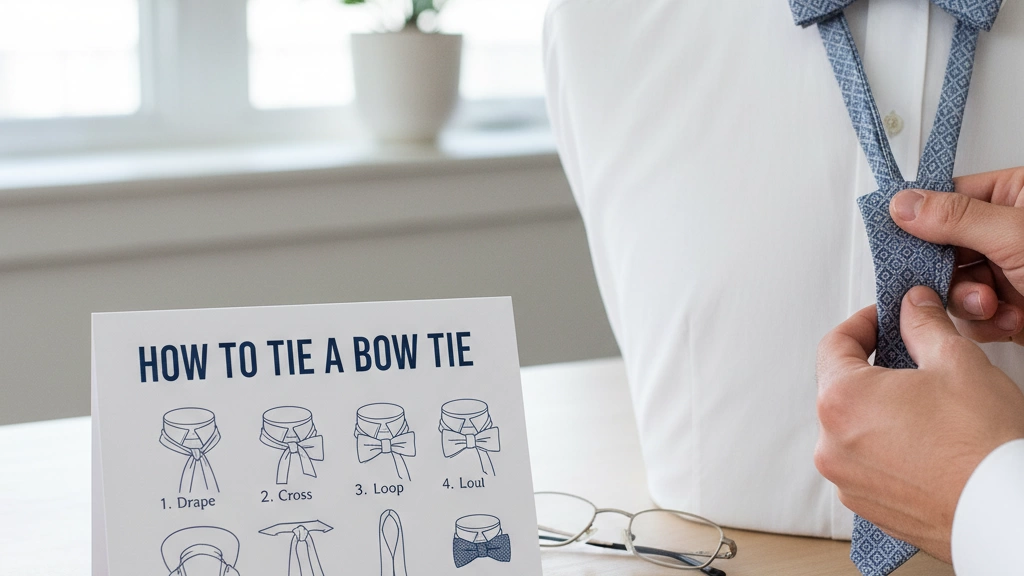
The Simple 6-Step Method (The Fastest Way – Illustrated)
Tying a self-tie bow tie might seem tricky, but following these six simple steps makes it easy and quick:
- Start with the bow tie around your neck, placing the left end about 1.5 to 2 inches longer than the right.
- Cross the longer end over the shorter end near your collar.
- Pass the longer end up through the neck loop from underneath, creating the basic knot.
- Fold the shorter end into the bow shape, this forms the first “wing” of your bow tie.
- Drop the longer end over the front of the folded bow.
- Fold the longer end, push it through the loop behind the bow, and tighten gently to secure the knot.
This method is the fastest way to tie a perfect bow tie knot and works well for beginners. For additional visual help, a mirror is highly recommended during your first tries to make sure the bow is symmetrical and neat. This straightforward approach is the foundation for most bow tie styles, whether for weddings or formal events.
For a confidence boost on how to wear your bow tie once tied, check out our guide on the rules of wearing a bow tie with confidence.
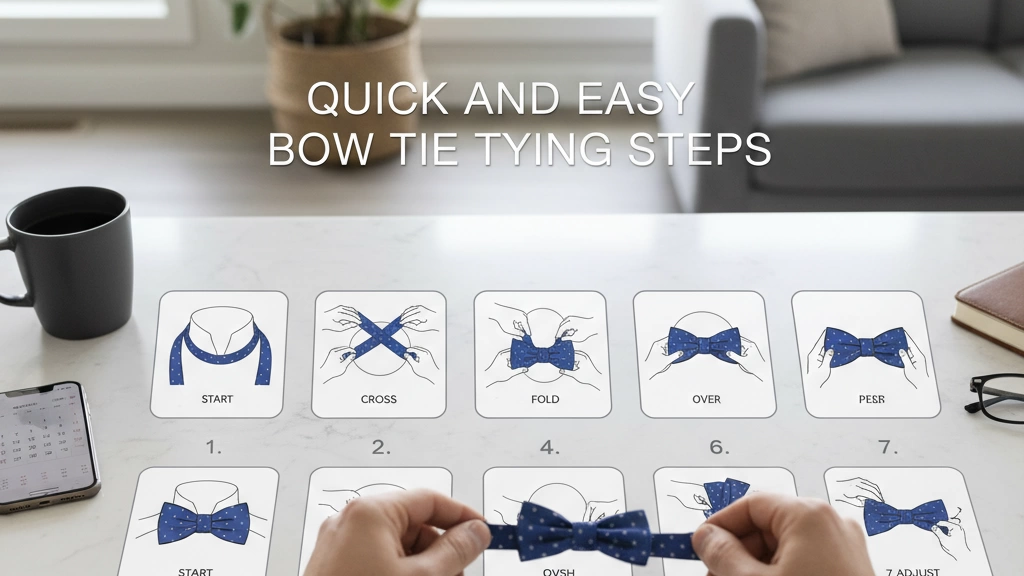
Visual Guide – Pictures & Video
To make learning how to tie a self-tie bow tie even easier, we offer a clear visual guide. You can download a full infographic that breaks down each step in the simple 6-step method, perfect for quick reference. For those on the go or preferring to learn by watching, there’s also a short 15–30 second silent video loop. This video is ideal for mobile users who want to practice tying their bow tie anytime, anywhere without distractions. These visuals complement the easy bow tie knot instructions and make mastering the perfect bow tie quick and stress-free.
Common Mistakes & How to Fix Them
Tying a bow tie can be tricky at first, but most issues are easy to fix once you know what to look for. Here are the top common mistakes and quick tips to fix them:
-
Bow tie crooked: If your bow tie looks off-center, gently shift and adjust it while standing in front of a mirror. Make sure the collar is properly folded back and the bow sits evenly under your chin.
-
One side bigger than the other: This happens when the bow tie wings aren’t folded evenly. To fix symmetry, carefully pull and reshape the larger wing while slightly loosening the knot before tightening again.
-
Too tight or too loose: If it feels uncomfortable or your bow tie sags, adjust the length at the neck loop before retying. It should be snug but not choking.
-
Knot looks messy: To get a clean knot, smooth out the fabric with your fingers as you tighten. Iron or steam your bow tie beforehand for a crisper look.
If you want to dive deeper into flawless neckwear, check out our detailed guide on how to tie a perfect Windsor, which includes tips that can also polish your bow tie skills.
Butterfly vs Batwing vs Diamond Point – Does the Method Change?
When it comes to tying a bow tie, whether you’re working with a butterfly, batwing, or diamond point shape, the good news is the method stays the same. The simple 6-step process we covered applies to all standard bow tie shapes without any major tweaks.
Here’s a quick comparison to clarify the differences:
| Bow Tie Shape | Description | Typical Width | Style Vibe |
|---|---|---|---|
| Butterfly | Classic, wide and rounded ends | 2.5 to 3 inches wide | Traditional & formal |
| Batwing | Narrow, straight edges | 1.5 to 2 inches wide | Sleek and modern |
| Diamond Point | Tapered ends with a point | 2 to 2.5 inches wide | Stylish and unique |
Despite these shape differences, the tying steps don’t change. Whether you’re adjusting the length or folding the “wings,” the same instructions cover all types perfectly. So once you master the simple 6-step method, you’re set for any standard bow tie style.
This versatility makes learning how to tie a self-tie bow tie easier and more practical—no need for separate tutorials for every bow outline.
For detailed tips on how to achieve that sharp final look regardless of shape, check out our men’s formal bow tie guide for expert advice on fit and style.
Pro Tips for a Perfect Bow Tie
To get a sharp, polished look, dimple the center of your bow tie just like you would a necktie. This little fold in the middle adds depth and character, making the bow look more professional.
Don’t stress about your bow tie being perfectly symmetrical. A slight asymmetry actually looks more natural and stylish, giving you a confident, effortless vibe.
Matching your bow tie size to your face shape and collar type is important too:
- Round face: Go for wider bows like the butterfly shape to add angles.
- Square face: Choose narrower styles like batwing or diamond point for balance.
- Collar type: Spread collars work well with larger bows, while narrow collars suit slimmer bows.
Before tying, steam or iron your bow tie to get a crisp, wrinkle-free look. A sharp bow is always more impressive and holds its shape better throughout the event.
For more tips on getting your accessories spot on, check out our guide on matching your tie and pocket square to complete your formal style.
Pre-Tied vs Self-Tie vs Clip-On – Which Should You Choose?
Choosing the right bow tie depends on your style, skill, and occasion. Here’s a quick comparison to help you decide without the hard sell:
| Type | Pros | Cons | Best For |
|---|---|---|---|
| Self-Tie | Classic look, fully adjustable, feels authentic | Takes practice, time to learn | Formal events, style-conscious wearers |
| Pre-Tied | Super quick, consistent shape | Less natural, limited adjustment | Casual events, beginners |
| Clip-On | Easiest to use, no tying skills needed | Can look cheap, less secure | Kids, last-minute use, safety |
Self-tie bow ties give you the most authentic style and are a must if you want to master the art of dressing sharp. Plus, tying it yourself lets you adjust for perfect fit and symmetry.
If you’re pressed for time or new to bow ties, a pre-tied option offers a neat look with zero fuss, though it won’t have the same charm as a self-tied knot.
Clip-ons are practical but often feel less formal and can be obvious to the trained eye. Great for kids or quick fixes but not recommended for black-tie or wedding looks.
For a deeper dive into matching accessories for your outfit, check out this guide on jewelry pairing rules you should know to elevate your overall style.
Frequently Asked Questions
Here are quick answers to common questions about tying a self-tie bow tie:
| Question | Answer |
|---|---|
| How long does it take to learn? | Most people get the hang of it within 5–10 minutes with a bit of practice. |
| Can I tie it without a mirror? | Yes! After a few tries, muscle memory takes over, and you won’t need a mirror anymore. |
| What if my bow tie is too short/long? | Adjust by shifting the starting position on your neck to get the right length before tying. |
| How to untie without ruining shape? | Loosen the knot gently by pulling the folded ends; avoid pulling tight sections abruptly. |
| Bow tie vs necktie knot – difference? | Bow ties have a flat, symmetrical knot with two loops, while neckties create a long, angled knot. |
If you want to dive deeper into the style and history of neckwear, check out our detailed guide on the brief history of the necktie. It’s a great read if you appreciate the art behind formal accessories.